Ditto Adds Digital Signage Zones, Display Takeovers, YouTube Signage
The takeover begins now. Three major Ditto digital signage updates help you bring the right signage to the right moment.
2 min read
Squirrels Updated on May 4, 2023

Microsoft PowerPoint is a familiar tool you can use to quickly create attention-grabbing digital signage. You won’t believe how easy it is to create digital signage content and speed up your workflows.
This guide shows you how to configure PowerPoint correctly for digital signage and easily turn a slideshow into engaging signage that makes people take action.
Make sure your slides are the correct size to best fit the displays in your organization. Nobody wants square digital signage playing on widescreen TVs.
How to change your slide size:
Creating and designing content for digital signage doesn’t have to be difficult. Start with the built-in PowerPoint templates if you need design inspiration. Keep things simple, legible and relevant.
Want to learn more about digital signage? Check out these helpful guides:
Now it’s time to turn your PowerPoint slides into digital signage:
Ensure the file format you choose is compatible with your digital signage service. Most digital signage content management systems (CMS) will accept common image and video files. For example, Ditto digital signage is compatible with a variety of media file types, such as PNG, JPEG, GIF and MP4.
Make sure to set up your slides to the correct aspect ratio and export them to the correct dimensions. Your slides should fill up the entire screen of your TVs and monitors.
Common display dimensions:
|
|
HDTV |
4K TV |
|
Pixel dimensions: |
1920 x 1080 px |
3840 × 2160 px |
|
Aspect ratio: |
16:9 |
16:9 |
These dimensions can vary depending on what displays your organization uses.
You can export your slides as a set of static images or have PowerPoint combine them into a single video file that plays all slides for a set amount of time.
PowerPoint settings allow you to change the dimensions for MP4, MOV, JPEG, TIFF, PNG, Animated GIF and BMP files.
Now that you have exported your slides, it’s time to get them up on your screens. Some digital signage solutions only play files from a physical source like a USB drive. However, the best type of digital signage includes a CMS that is touch-free and accessible from anywhere.
Organize your content and set scheduling and duration parameters. To do this you’ll need to upload the files to your preferred signage CMS or deploy physical hard drives loaded with your content to each display. The digital signage solution you use can make this process really simple or really time-consuming — opt for a centrally managed signage solution that has a built-in CMS, like Ditto.
Now your displays will begin playing the digital signage content you created from PowerPoint.

The takeover begins now. Three major Ditto digital signage updates help you bring the right signage to the right moment.

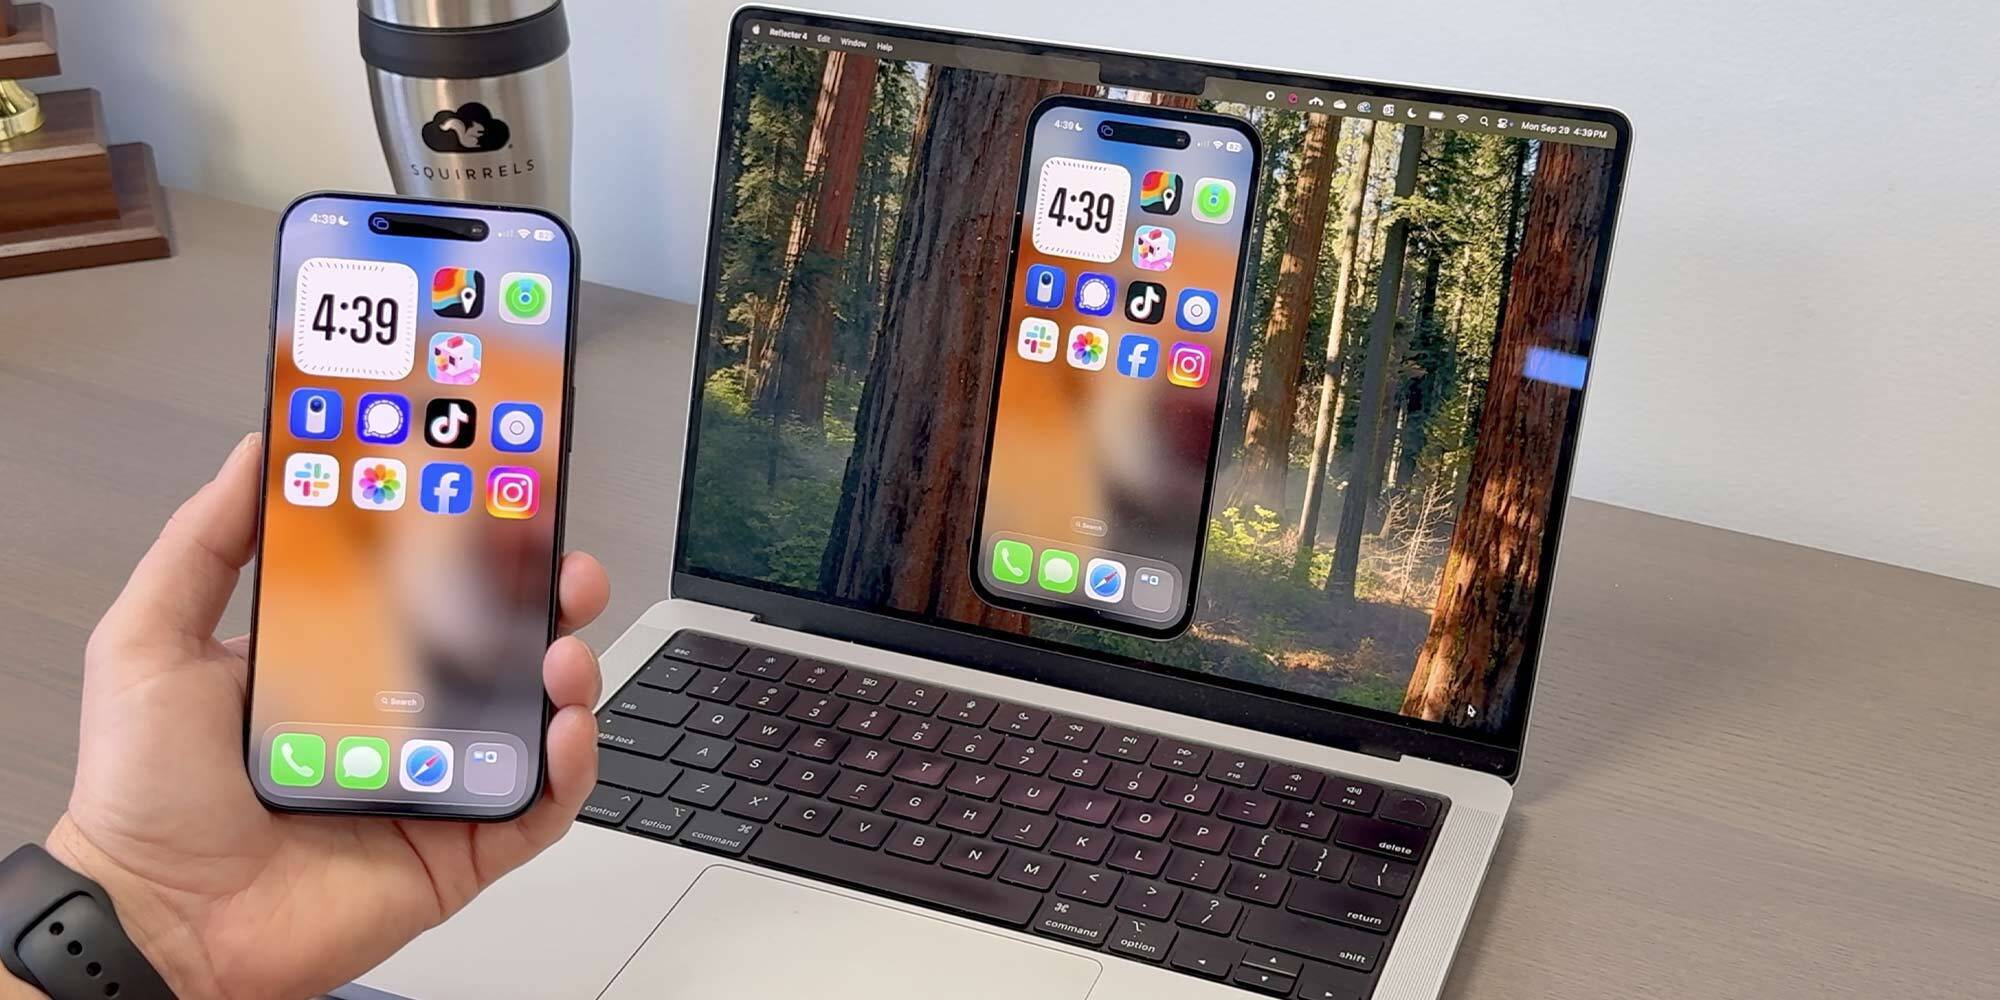
iPhone 17 makes screen sharing and media streaming fast and easy. This guide shows you how to wirelessly mirror iPhone 17 to TVs, projectors or...

HDMI cables. Document cameras. DVD players. Dongles and adapters. Many classrooms still rely on these old technologies, but students and educators...

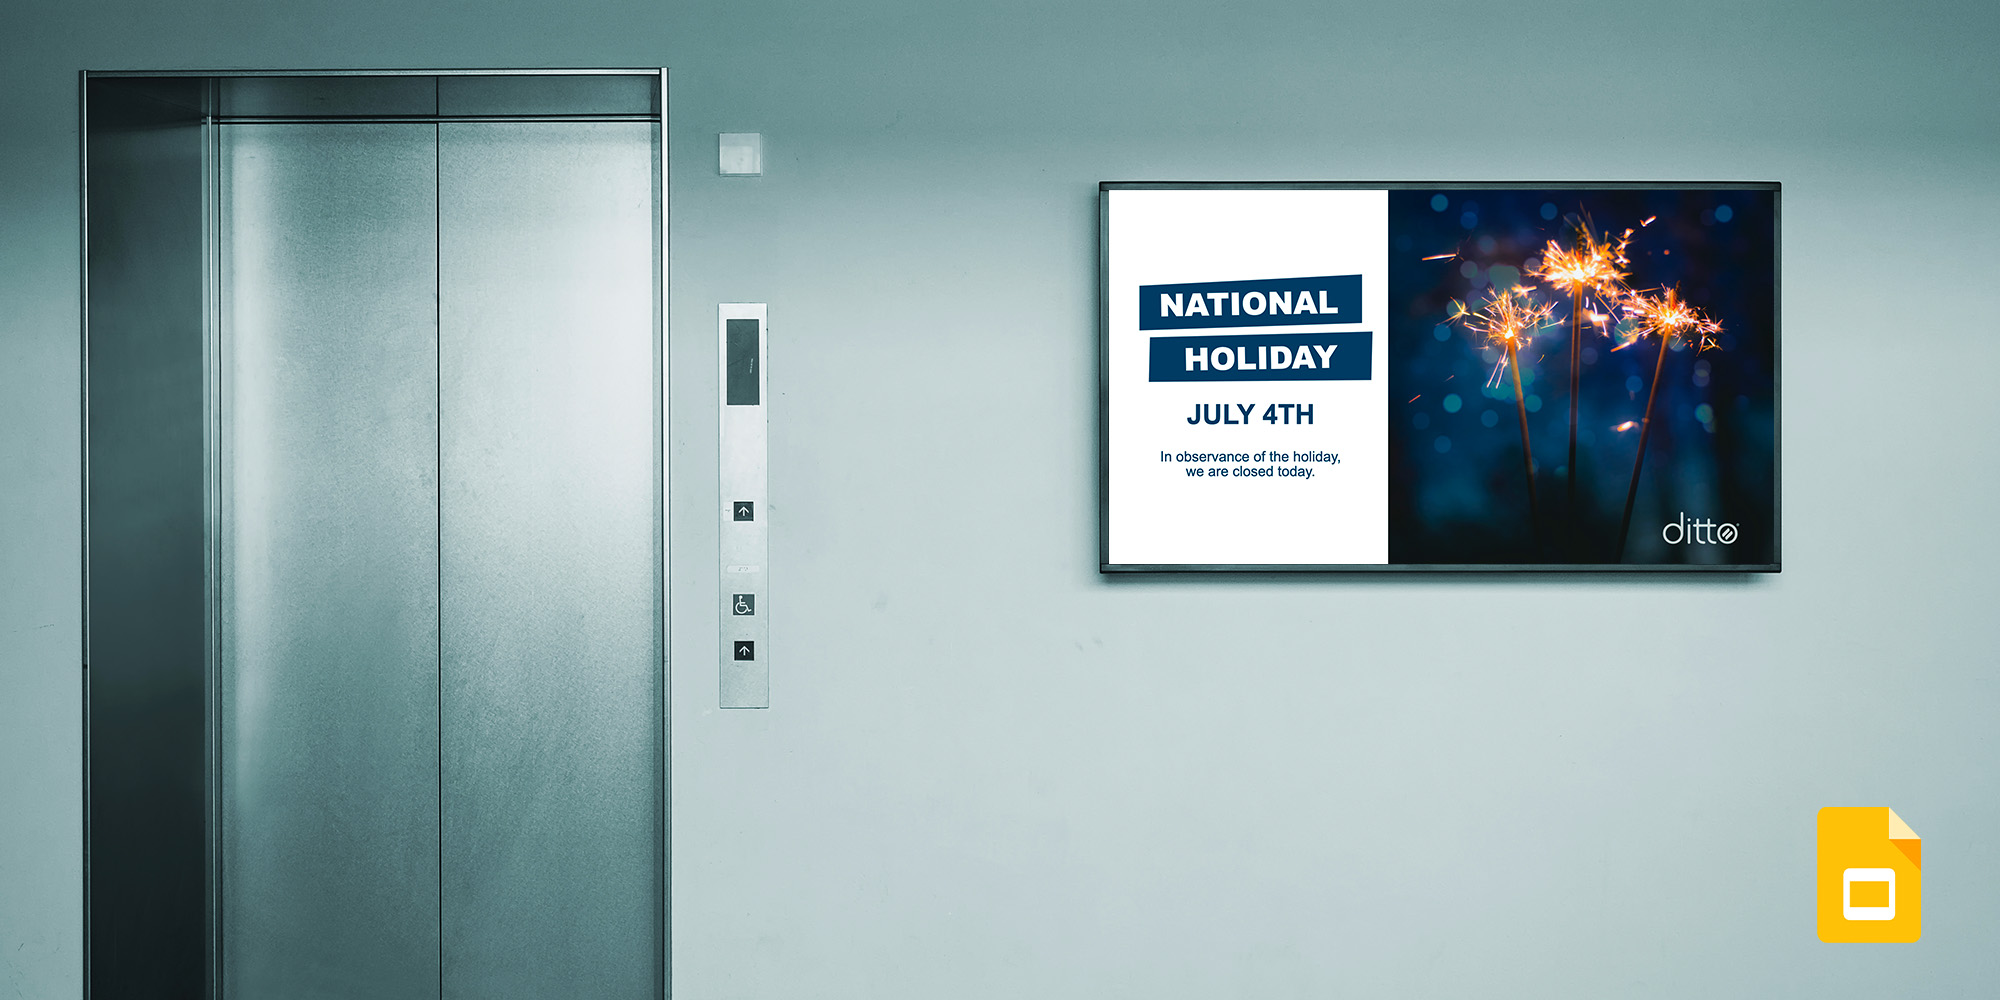
Google Slides is a free tool you can use to create digital signage. Google’s simple slideshow app allows you to easily create digital signage content...

New Ditto digital signage templates are here! The latest templates call out single or dual images with large headlines and descriptive body text....

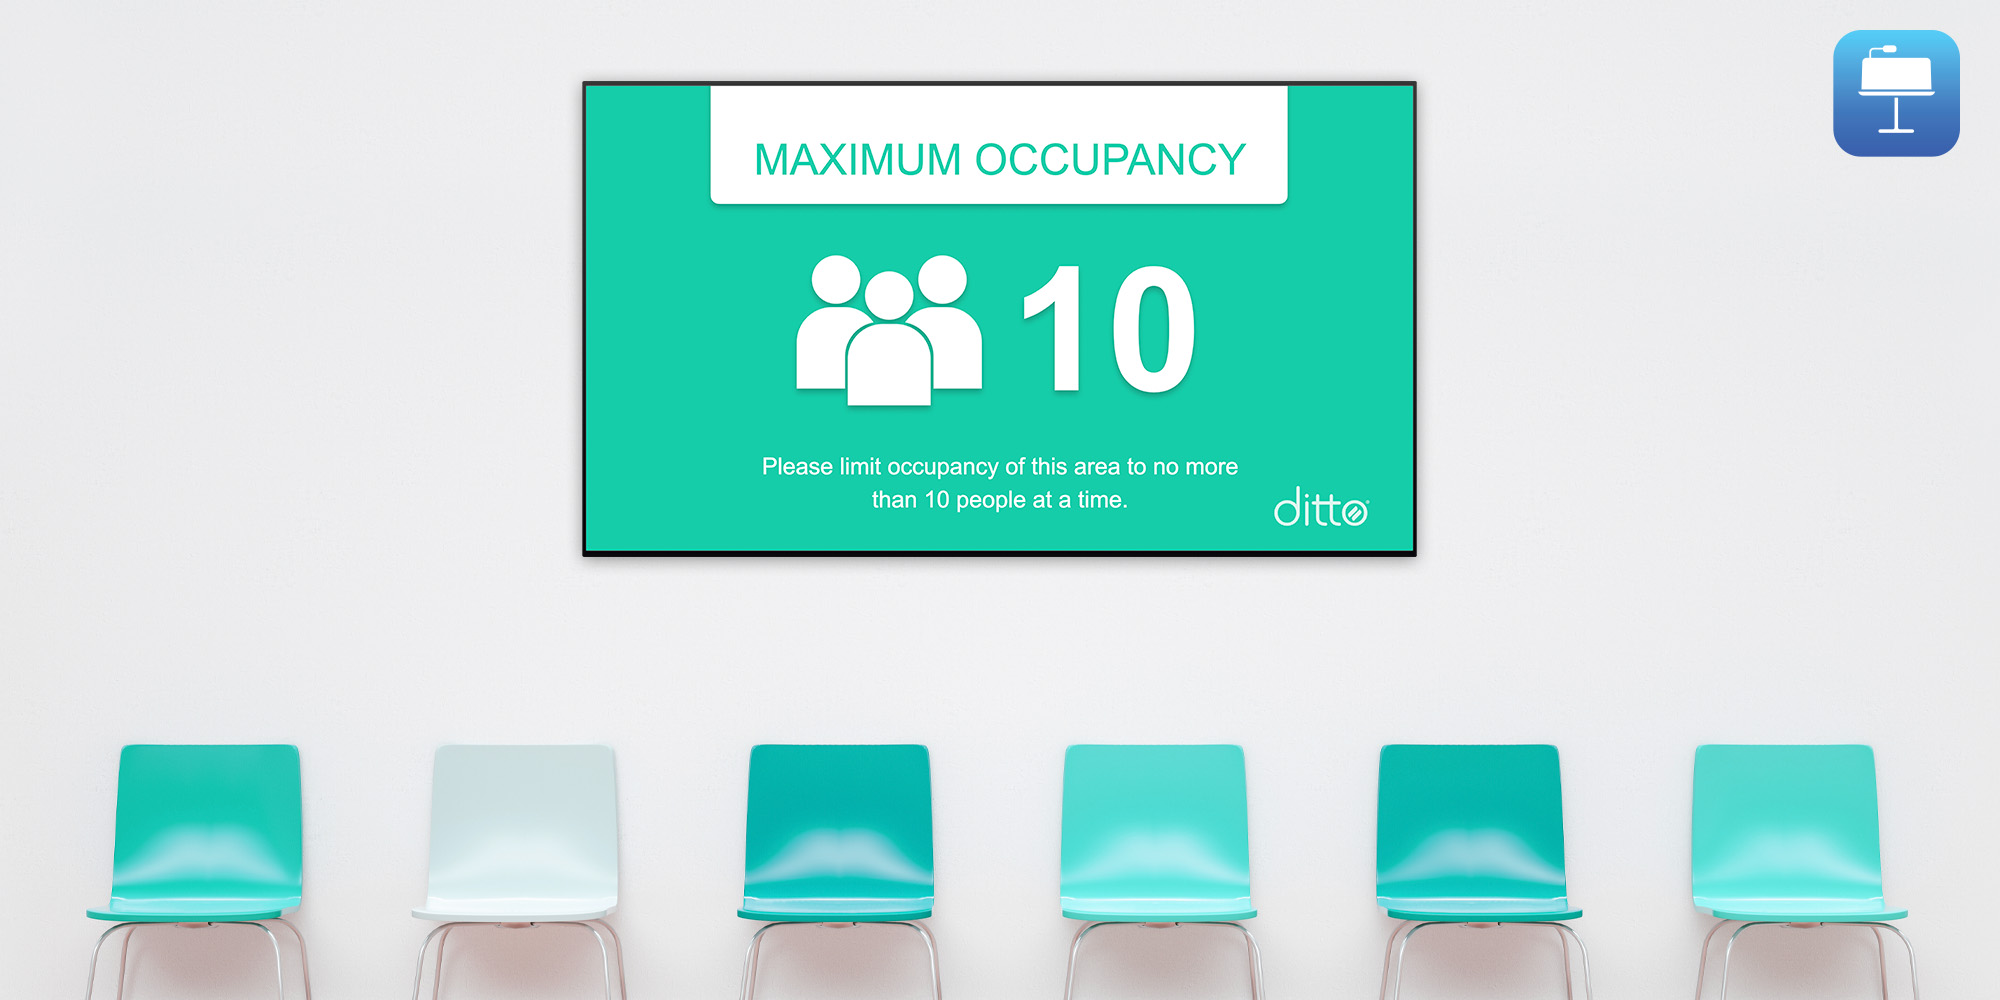
It’s easy to create digital signage from a Keynote slideshow. Follow this guide to learn how to quickly create digital signage from Keynote and speed...


Save when you buy AirParrot and Reflector together. One AirParrot and one Reflector license for use on either MacOS or Windows.
BUY US$

Save when you buy AirParrot and Reflector together. One AirParrot and one Reflector license for use on either MacOS or Windows.
BUY US$