Ditto Adds Digital Signage Zones, Display Takeovers, YouTube Signage
The takeover begins now. Three major Ditto digital signage updates help you bring the right signage to the right moment.
It's easy for artists to share their Procreate work to live streaming video platforms like Twitch using this simple setup. Procreate is a digital illustration and painting app available on iPad. With hundreds of brushes, editing tools and advanced features, Procreate is a popular choice among creatives. Procreate artists build an audience, show off their skills and interact with fans by live streaming their Procreate art to Twitch. This guide shows you how to get started.
It’s possible to stream Procreate to Twitch using the Twitch app for iPadOS, but this method is very limited. Streaming from an iPad directly to the Twitch app will not allow you to add critical audience-engagement features like overlays (chat boxes, new subscriber notifications, etc) or include a webcam in your stream.
A better option is to use desktop (Mac/Windows) software that allows you to enhance your stream. You can boost your stream by adding webcam video and customized overlays, and you gain the ability to manage your stream from your computer.
For this setup, you'll need:
Reflector allows you to wirelessly display your iPad screen on your Mac or Windows computer. OBS captures your Mac/Windows display. Then stream what OBS captures to your viewers via Twitch.
Open Reflector on your computer and wirelessly mirror your iPad to your computer screen. You can change your iPad frame or choose to have no frame by clicking the Reflector settings cog then “Frame.”
Not sure how to screen mirror an iPad? Check out this guide: How to Screen Mirror iPad
Important: You need to verify a few settings to make sure your iPhone, iPad or Android device screen shares to OBS properly. Once your device is connected to Reflector, hover your cursor over the device and click the settings cog that appears next to the device name. Ensure "Always on Top" and "Fullscreen" are toggled off. These must be toggled off to successfully begin sharing your device screen to OBS. If you prefer, you can toggle these settings back on after you begin sharing your screen to OBS.
If you’ve already set up OBS and Twitch, jump to Step 4.
Open (or download and install) OBS. The Auto-Configuration Wizard should pop up. Select “Optimize for streaming” and “Next.” Specify your video settings and select “Next.”
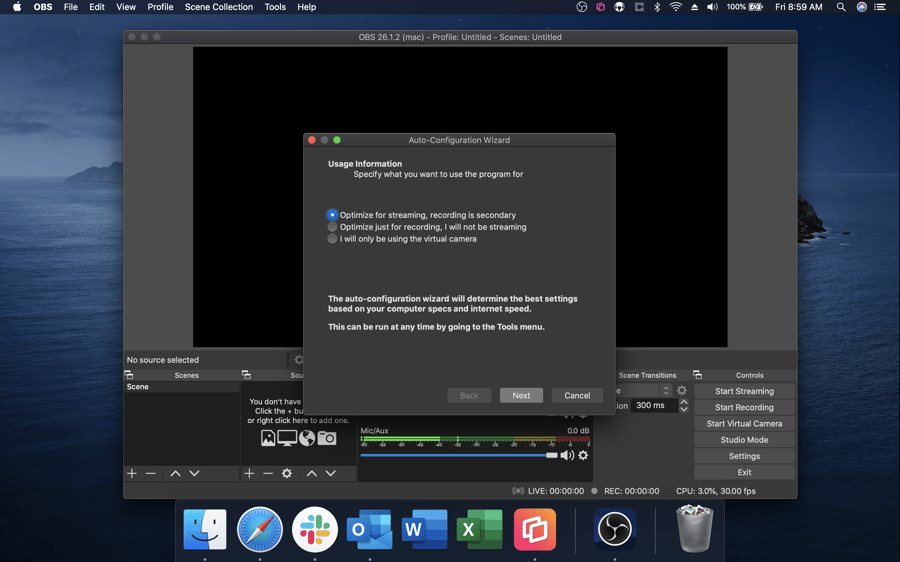
Under service, select “Twitch” and enter your Twitch stream key. If you do not know your stream key, click “Get Stream Key.” To change your stream key, go to “Settings” > “Stream.”
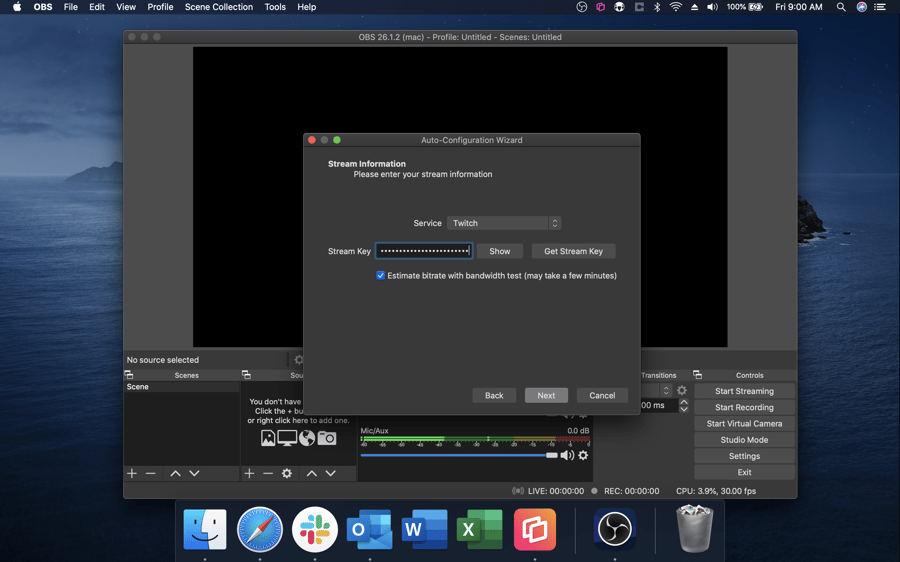
In the Scenes box, click the “+.” You can name the scene whatever you like.
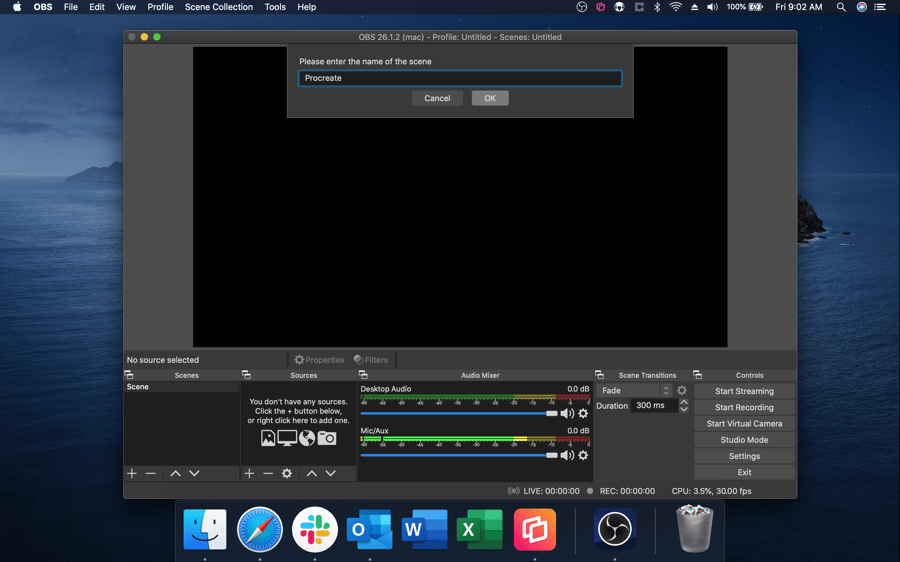
In the Sources box, click the “+” just like you did with the scene. Select “Window Capture” from the list of choices and name it whatever you like.
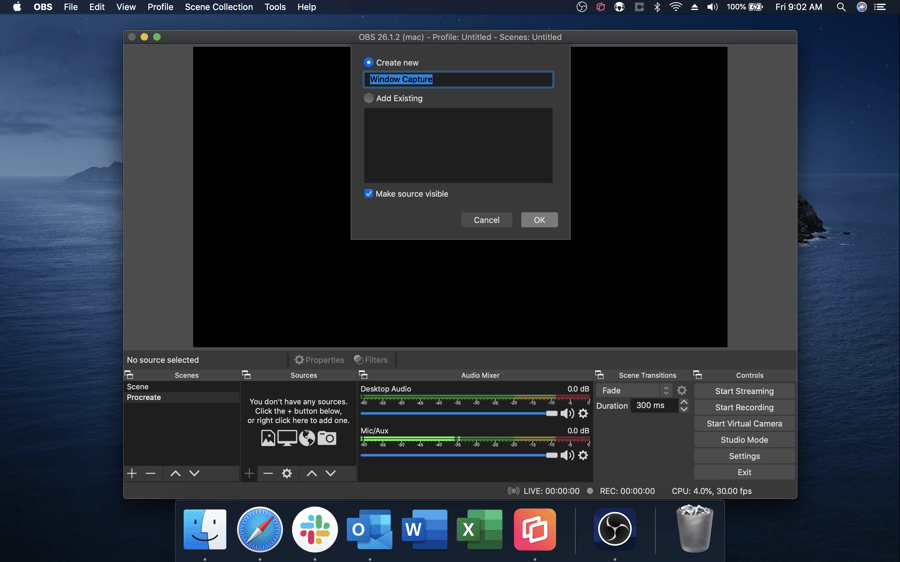
Select “[Reflector 4]” with the corresponding name of your device from the dropdown. If using a Windows computer, select “Windows Graphics Capture” under “Capture Method.”
Note: If Reflector does not show up, you may need to grant OBS access to record your screen in your Mac or Windows system’s preferences. This will generally be under security and privacy.
If Reflector is still not showing up, revisit Step 1 to make sure you have the correct settings for Reflector.
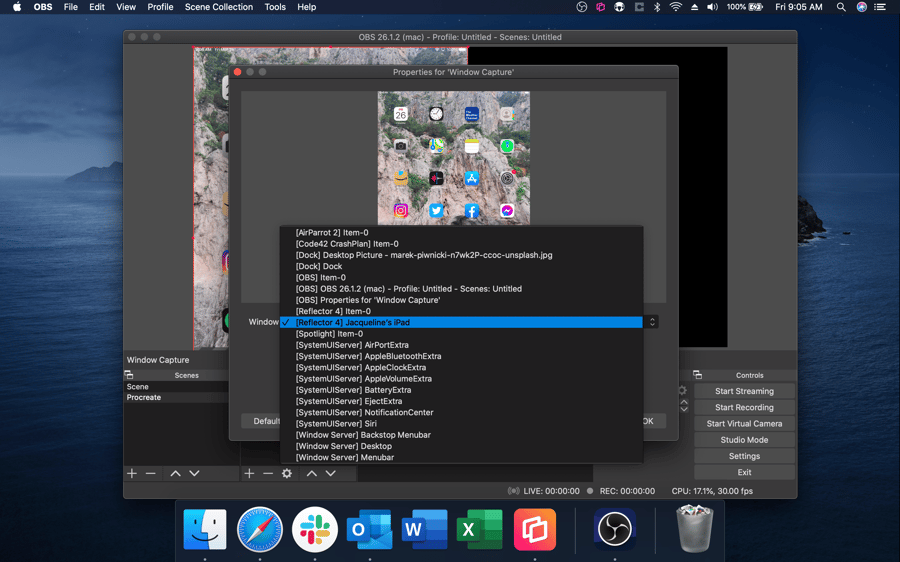
Click “Ok” and your device screen will appear in the OBS stream window.
Set up your overlays by adding more sources to your scene. You can create numerous elements here to enhance your Twitch stream and make it more engaging. For example, you can add donation goals, webcam video or new subscriber pop-ups to your stream.
Your sources will appear in order from top to bottom. For example, to ensure your webcam source plays on top of your iPad screen, make sure it is above your Window Capture source.
Open Procreate on your iPad.
Once you have your stream set up, click “Start Streaming” in the bottom right corner of your OBS software.
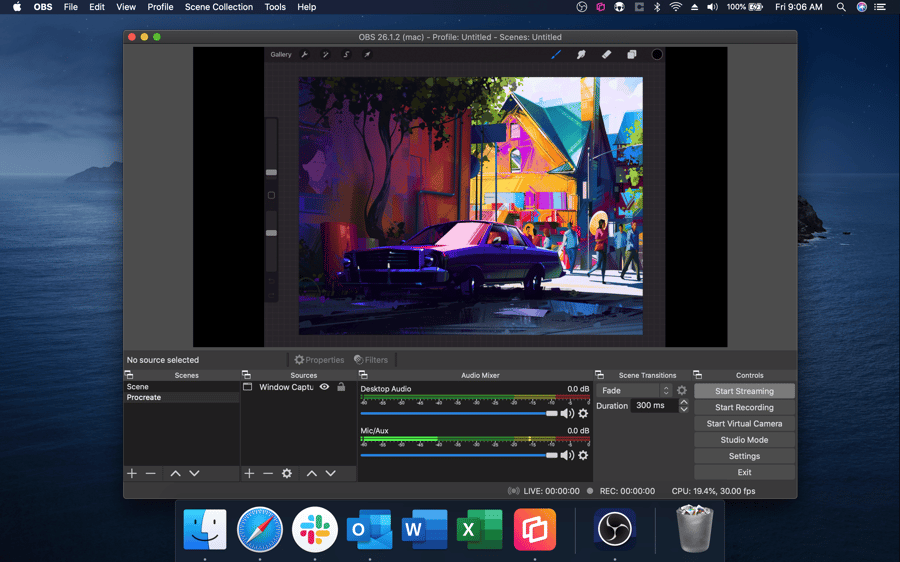
You’re now live streaming to your Twitch audience via OBS! Remember, your audience will be able to see everything on your iPad screen. Learn how to turn off notifications while screen mirroring.
Check out this guide to learn how to use OBS alternatives like Streamlabs OBS or Twitch Studio.
Get Reflector today to help you create a high-quality, professional iPad stream.
How to Stream Mobile Games to Twitch with OBS, Streamlabs OBS and Twitch Studio
The takeover begins now. Three major Ditto digital signage updates help you bring the right signage to the right moment.
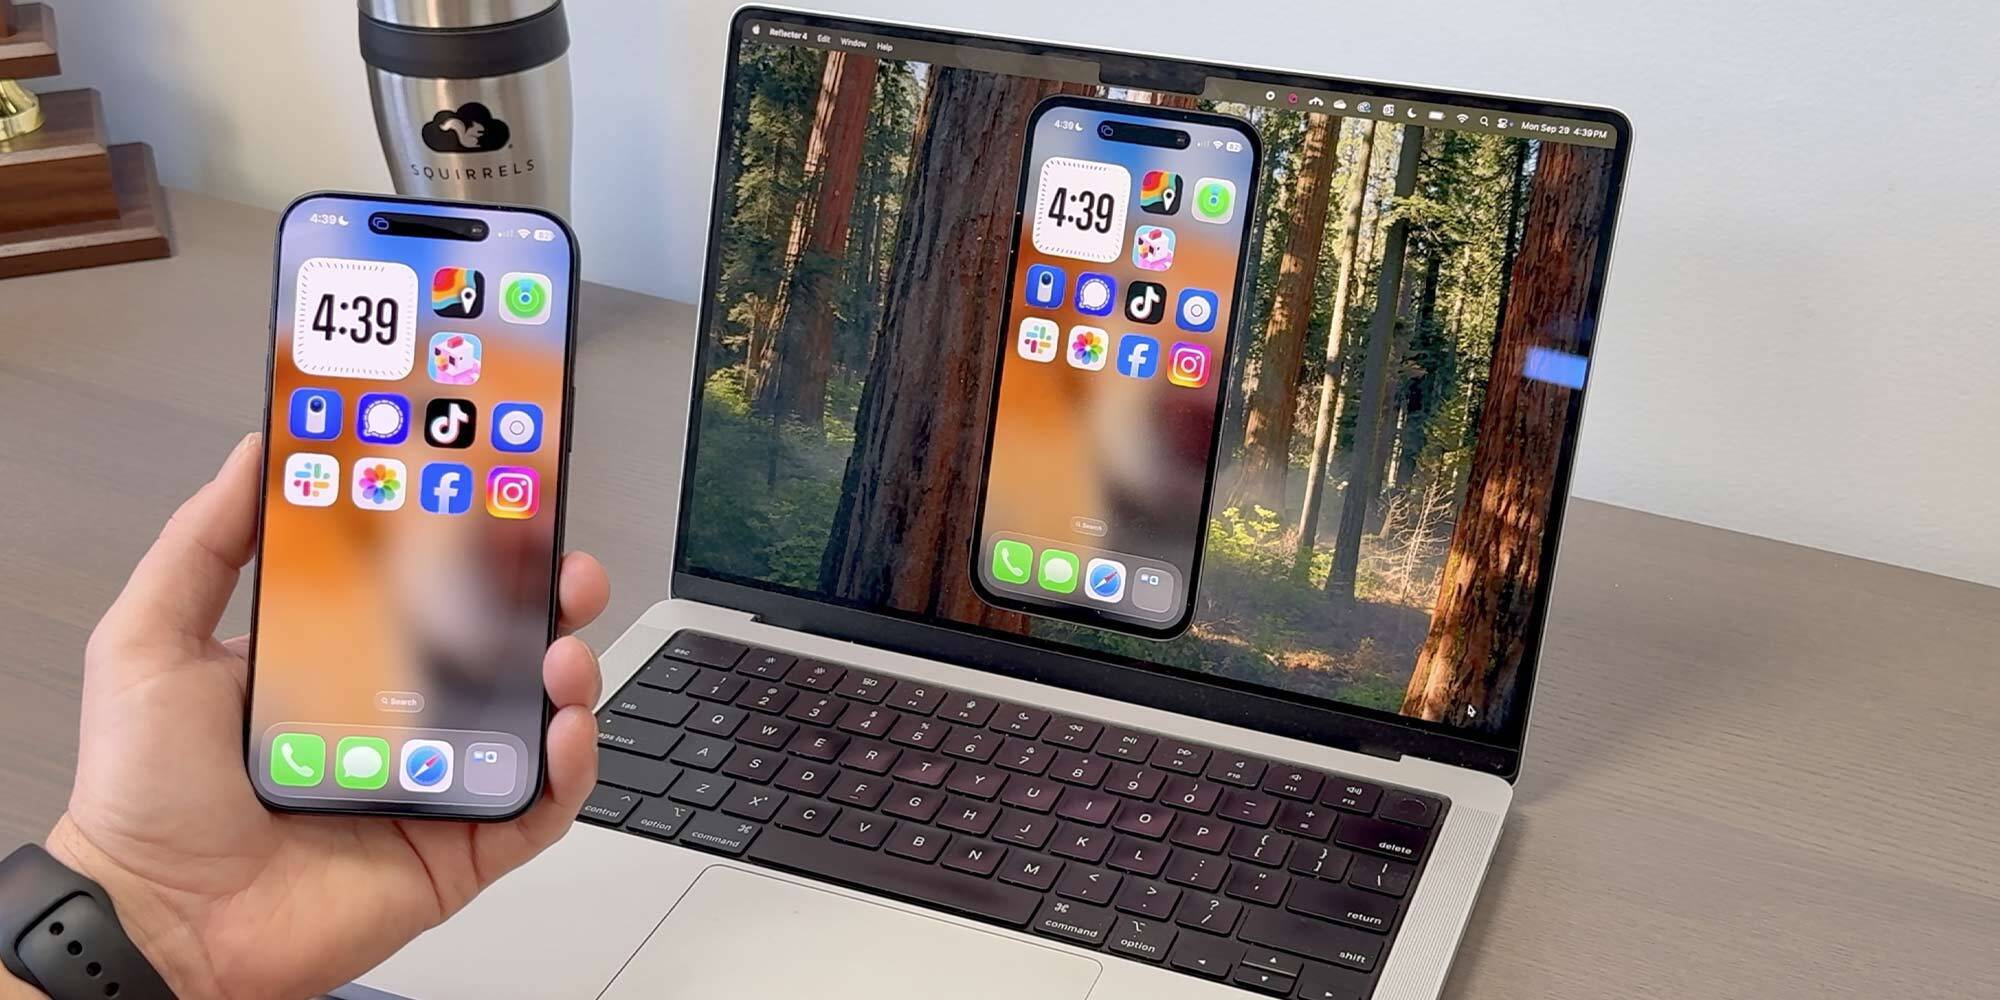
iPhone 17 makes screen sharing and media streaming fast and easy. This guide shows you how to wirelessly mirror iPhone 17 to TVs, projectors or...
HDMI cables. Document cameras. DVD players. Dongles and adapters. Many classrooms still rely on these old technologies, but students and educators...
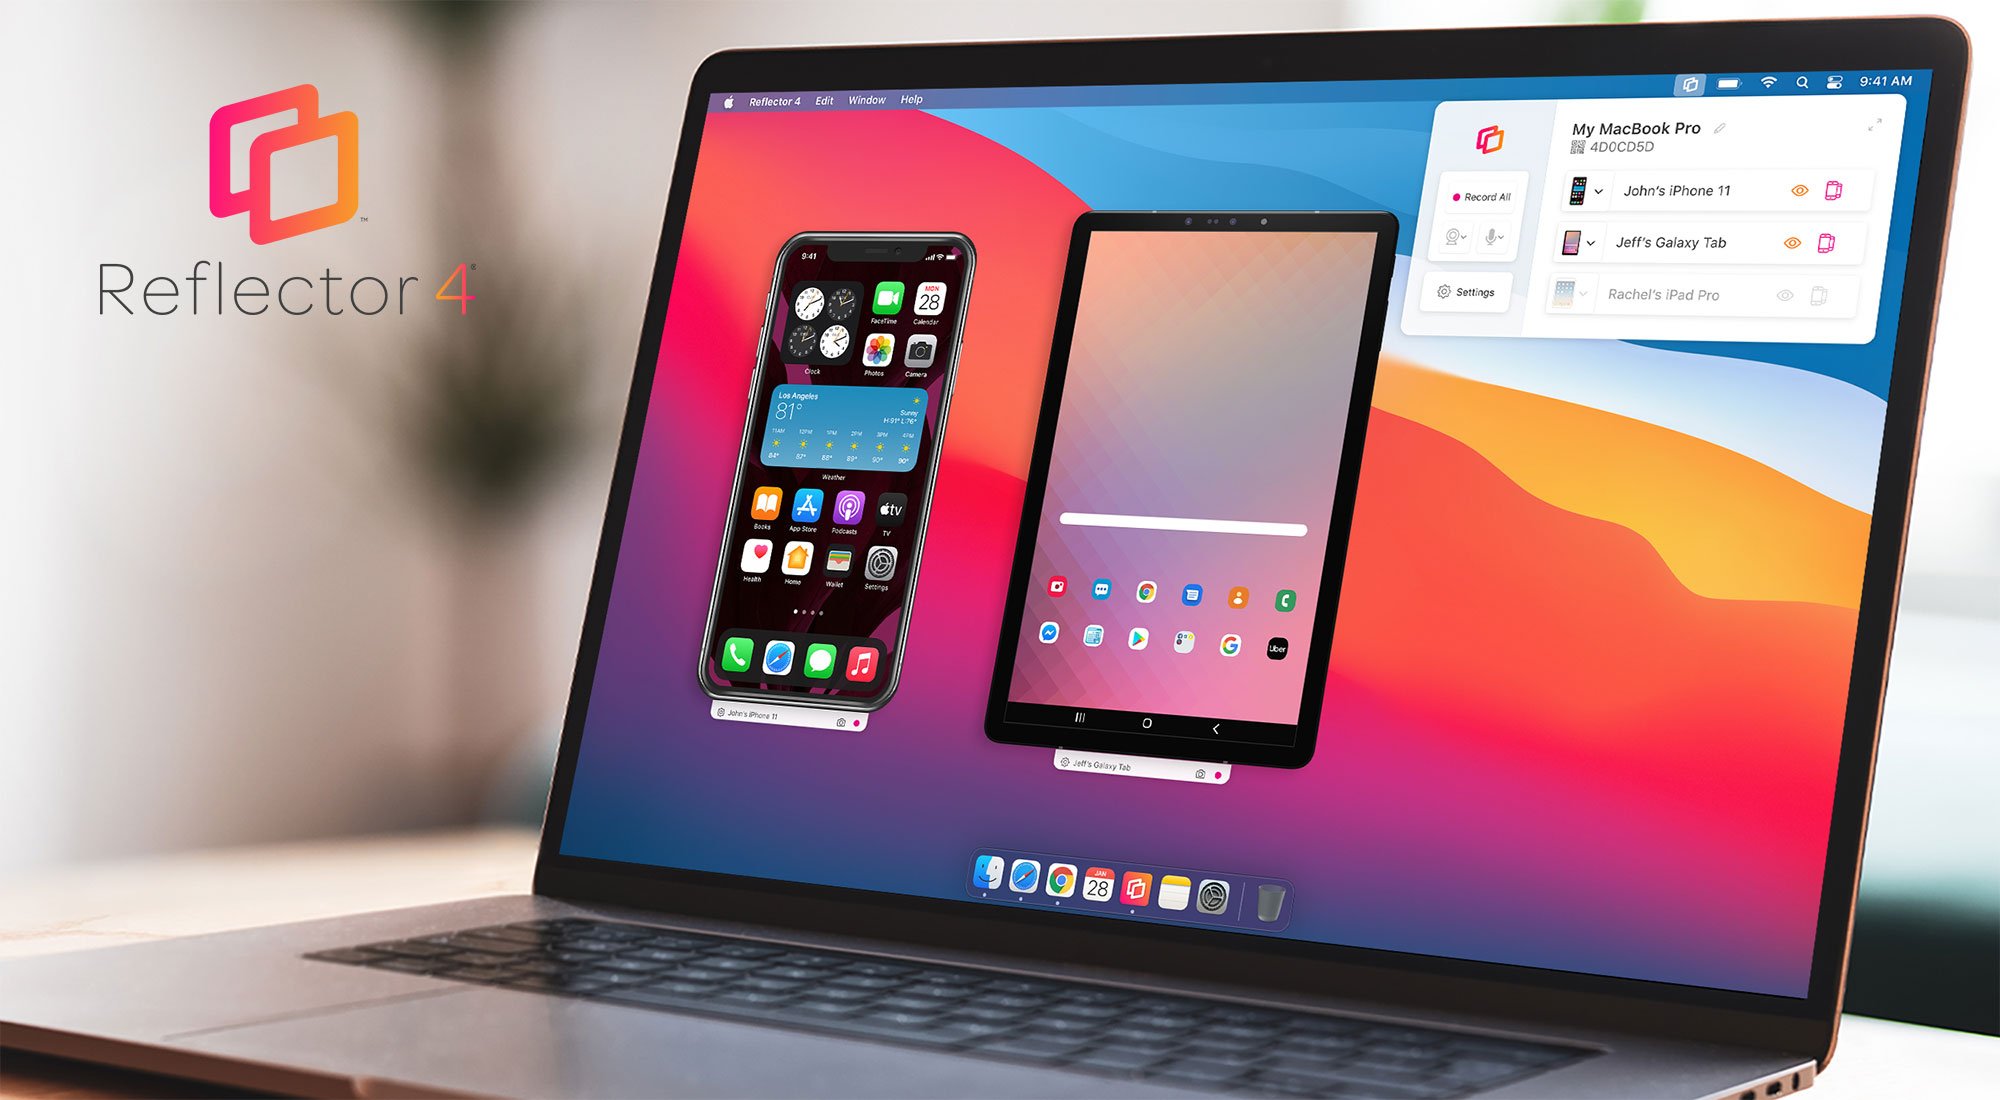
We’ve been hard at work burning the midnight oil and now we can finally say it: Reflector 4 is here. The all-new Reflector 4 is the latest...
Social video platform services such as YouTube Gaming, Hitbox.tv and Twitch offer gamers an opportunity to turn their recreational hobby into an...
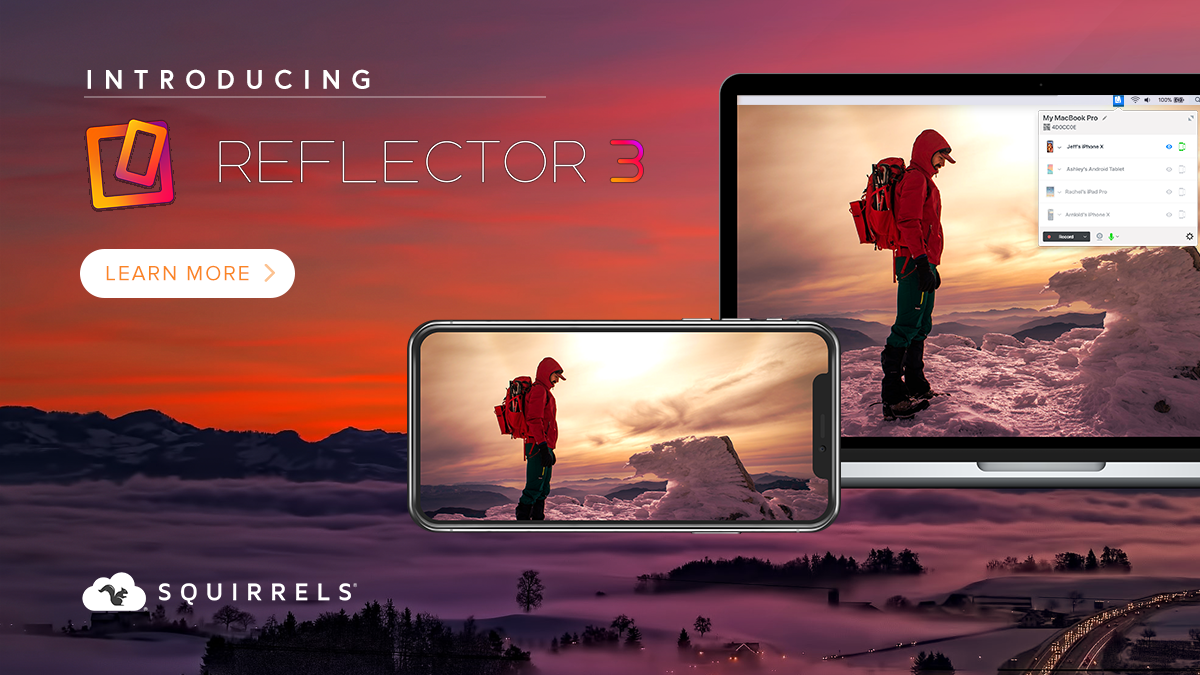
Today we’re launching two new applications: Reflector 3 and Reflector Teacher. Both apps build on our previous screen-mirroring experience and...

Save when you buy AirParrot and Reflector together. One AirParrot and one Reflector license for use on either MacOS or Windows.
BUY US$

Save when you buy AirParrot and Reflector together. One AirParrot and one Reflector license for use on either MacOS or Windows.
BUY US$